Discover Studios, Services & More Across USA | StudioBDTLA
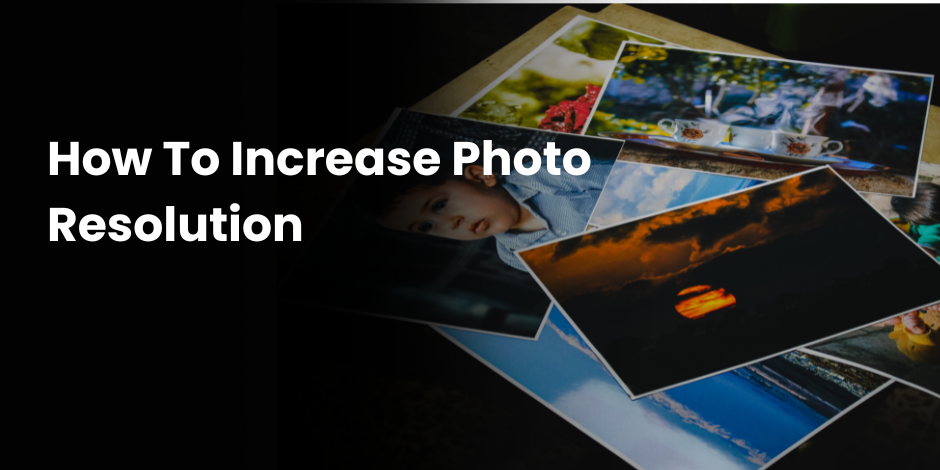
How To Increase Photo Resolution
In an era where digital imagery dominates our lives, the quality of your photos can make a lasting impression. Whether you’re a budding photographer, a social media enthusiast, or just someone who cherishes high-quality memories, having sharp and clear images can elevate your visual storytelling. This blog post unravels practical strategies to increase your photo resolution, ensuring that your images stand out in both clarity and detail.
We’ll explore various tools and techniques that cater to different skill levels, from beginners to tech-savvy experts. By the end, you’ll be equipped with the knowledge needed to enhance your images to meet professional standards, all while maintaining ease of understanding. Let’s get started on the path to creating picture-perfect memories!
Understanding Photo Resolution
What is Photo Resolution?
Photo resolution refers to the amount of detail an image holds. It is measured in pixels, which are tiny dots that make up an image. The more pixels an image has, the higher its resolution. High-resolution images offer better clarity, detail, and sharpness, making them desirable for both digital and print mediums.
For instance, a photo with a resolution of 1920×1080 pixels has a total of 2,073,600 pixels. This allows for greater detail and less pixelation when enlarged. Understanding this concept is essential for anyone looking to enhance their photographs.
Why Resolution Matters
In a world saturated with images, resolution is key to making yours stand out. High-resolution photos are not only more visually appealing but also more versatile. They can be resized without losing quality, used in various formats, and printed in larger sizes without appearing grainy.
Additionally, higher resolutions are crucial for professional uses such as marketing campaigns, portfolio building, and digital art. For personal use, clear images capture the essence of moments more vividly, making memories even more precious.
Pixels per Inch (PPI) Explained
Pixels per inch (PPI) is a metric that indicates how many pixels are displayed within a single inch of an image. A higher PPI suggests a higher quality image with finer details. Standard web images typically have 72 PPI, while print images often require 300 PPI for optimal quality.
Understanding PPI is important when editing your images for different platforms. Adjusting this setting can improve the overall appearance of your photos, especially when transitioning between digital and print mediums.

Tools to Enhance Photo Resolution
Using Adobe Photoshop
Adobe Photoshop is a powerful tool for enhancing photo resolution. By using its built-in features, you can adjust the size and quality of your images without losing detail. The “Image Size” option allows you to modify dimensions and resolution simultaneously.
Additionally, Photoshop’s “Preserve Details” feature can enhance an image while maintaining its sharpness. Although Photoshop is a paid software, its wide range of tools makes it a worthy investment for those serious about photography.
Free Online Tools
For those seeking cost-effective solutions, various free online tools can improve photo resolution. Websites like Pixlr, GIMP, and Fotor offer user-friendly interfaces with options to resize and enhance images.
These tools often include basic features such as brightness adjustment and color correction, allowing you to improve photos without purchasing software. Experimenting with online tools is a great way to start enhancing your images without any financial commitment.
Smartphone Apps
With smartphones becoming increasingly powerful, several apps offer on-the-go photo enhancement capabilities. Apps like Snapseed, Adobe Lightroom Mobile, and VSCO provide easy-to-use features for boosting image resolution.
These apps often include advanced settings such as noise reduction and sharpening tools. They’re perfect for quick edits and convenient for those who prefer shooting and editing directly on their phone.
Techniques for Increasing Resolution
Upscaling Images
Upscaling refers to increasing an image’s resolution by adding more pixels. Software like Photoshop uses algorithms to predict and fill in additional pixels, maintaining quality during enlargement.
While upscaling won’t add new details, it can significantly improve how a photo looks when printed or viewed on larger screens. It’s particularly useful for older images with lower initial resolutions.
Denoising Techniques
Noise refers to unwanted graininess in photos, often caused by low light or high ISO settings. Reducing noise can enhance the clarity of images and improve perceived resolution.
Tools like Lightroom and Photoshop offer noise reduction features that help smooth out grainy areas while preserving essential details. This technique is especially beneficial for night photography and images taken in challenging lighting conditions.

Sharpening and Detailing
Sharpening a photo can make its features stand out, enhancing edges and fine details. Most photo editing tools include sharpening options, which can be adjusted for different levels of intensity.
However, over-sharpening can lead to unnatural-looking images. It’s essential to find a balance that enhances detail without distorting the original photo. Practicing with different settings will help you master this technique.
Common Mistakes to Avoid
Over-Editing Photos
While editing can enhance photos, overdoing it may result in images that look artificial. Avoid excessive use of filters, sharpening, and saturation adjustments that detract from the natural beauty of your images.
Instead, aim for subtle enhancements that improve without overpowering. Maintaining the authenticity of a photo often results in a more pleasing and professional appearance.
Ignoring Original Quality
When enhancing photos, starting with the highest quality original is crucial. An image with low resolution will have limited improvement potential, even with advanced editing techniques.
Always try to capture your photos in the best possible conditions and formats, such as RAW, to maximize editing capabilities later. Good practices during shooting make the enhancement process much more effective.
Neglecting Backup Copies
Before making major edits, always create backup copies of your original images. This step ensures that you have a fallback option if the edits don’t turn out as expected.
Storing backups on cloud services or external drives provides security and peace of mind, protecting your valuable memories from accidental loss.
Conclusion
Boosting photo resolution is no longer a luxury but a necessity in today’s visually driven world. By understanding the fundamentals of photo resolution, utilizing available tools, and applying effective techniques, anyone can elevate their image quality significantly.
Remember, it’s not about completely transforming your photos but enhancing what’s already there. Whether you’re a professional or hobbyist, the tips shared here will empower you to create stunning visuals that capture attention and cherish memories.
Explore further with tutorials and tools that align with your style preferences. Happy editing!
FAQs
How can I improve my photo resolution without Photoshop?
You can use free online tools like Pixlr and GIMP, or mobile apps such as Snapseed and VSCO, to enhance your photo resolution without needing Photoshop.
Does increasing resolution affect the file size?
Yes, increasing resolution often results in larger file sizes. This change is due to the added pixels, which require more storage space.
Can I increase the resolution of old photos?
Yes, you can increase the resolution of old photos using upscaling techniques and noise reduction tools to enhance clarity while minimizing graininess.
Is it possible to print high-quality images with low resolution?
Printing high-quality images requires high-resolution files. If you have low-resolution images, consider using upscaling methods to improve their quality before printing.
How do I maintain my photo’s original quality during editing?
To maintain original quality, avoid over-editing, start with high-resolution originals, and save backup copies to preserve the photo’s integrity throughout the editing process.