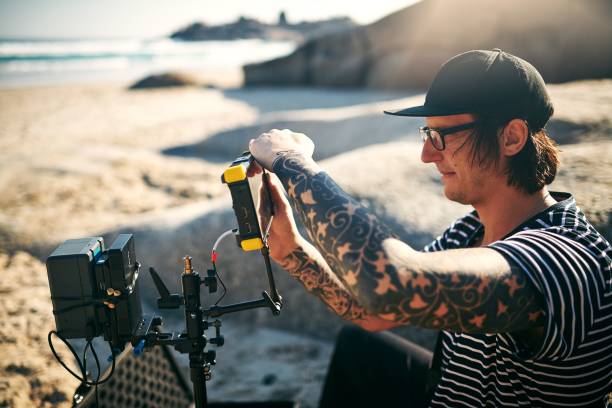
Outdoor photography is a rewarding endeavor that allows you to capture the beauty of nature, the vibrancy of street scenes, and the spontaneity of wildlife. Whether you’re a seasoned photographer or just starting, understanding how to set your camera for outdoor photography is crucial for achieving stunning results. This guide will walk you through essential camera settings, techniques, and tips to help you elevate your outdoor photography game.
Understanding Your Camera Settings
1. ISO
ISO measures your camera’s sensitivity to light. For outdoor photography, natural light typically provides ample illumination, allowing you to use a lower ISO setting. A lower ISO (e.g., 100-200) minimizes noise, resulting in clearer and more detailed images.
Tip: Set your ISO to the lowest possible value that still allows for a properly exposed shot. Increase it only when necessary, such as in low-light conditions or when using a faster shutter speed.
2. Aperture (f-stop)
The aperture controls the amount of light entering the camera and affects the depth of field (DoF). A wide aperture (e.g., f/2.8) creates a shallow DoF, ideal for portraits with a blurred background. A narrow aperture (e.g., f/16) increases the DoF, making it suitable for landscapes where you want everything in focus.
Tip: For landscape photography, use a narrower aperture (higher f-stop) to ensure sharpness throughout the scene. For portraits or macro shots, a wider aperture can help isolate the subject from the background.
3. Shutter Speed
Shutter speed determines how long the camera’s sensor is exposed to light. Fast shutter speeds (e.g., 1/1000s) freeze motion, while slower speeds (e.g., 1/30s) can create a sense of motion blur.
Tip: Use a faster shutter speed for action shots or when shooting handheld to avoid camera shake. For creative effects like silky waterfalls or light trails, experiment with slower shutter speeds and use a tripod.
4. White Balance
White balance ensures that colors in your photos appear natural under different lighting conditions. Cameras typically offer several white balance presets, such as daylight, cloudy, shade, and custom settings.
Tip: Use the appropriate white balance preset for the lighting conditions you’re shooting in. For more control, shoot in RAW format and adjust white balance during post-processing.
Essential Outdoor Photography Techniques
1. Utilize the Golden Hour
The golden hour, shortly after sunrise and before sunset, provides soft, warm light that enhances the colors and details in your photos. The low angle of the sun during these times also creates long shadows and a pleasing contrast.
Tip: Plan your shoots around the golden hour for the best lighting conditions. Use a photo planning app to track the exact times based on your location.
2. Composition Rules
Good composition can make or break a photograph. Familiarize yourself with basic composition rules like the Rule of Thirds, Leading Lines, and Framing to create visually appealing images.
Tip: Use the grid overlay on your camera’s display to apply the Rule of Thirds. Place key elements along the grid lines or at their intersections for a balanced composition.
3. Use a Tripod
A sturdy tripod is invaluable for outdoor photography, especially in low-light conditions or when using slow shutter speeds. It helps maintain sharpness and allows for precise framing.
Tip: Invest in a lightweight, portable tripod for ease of use during outdoor shoots. Ensure it has a sturdy build to withstand windy conditions.
4. Filters
Camera filters, such as polarizers and neutral density (ND) filters, can enhance your outdoor photography. A polarizing filter reduces reflections and enhances colors, while an ND filter allows for longer exposures in bright conditions.
Tip: Use a polarizing filter for landscape shots to deepen the blue sky and reduce glare on water surfaces. An ND filter is useful for creating motion blur effects like smooth water or moving clouds.
Post-Processing Tips
Editing your photos can significantly enhance their quality and impact. Software like Adobe Lightroom or Photoshop offers powerful tools for adjusting exposure, contrast, colors, and sharpness.
Tip: Always shoot in RAW format to retain maximum image data for post-processing. Start with basic adjustments and gradually fine-tune your photos to achieve the desired look.
FAQs
1. What is the best camera mode for outdoor photography?
For most outdoor photography scenarios, Aperture Priority (A/Av) mode is a good choice. It allows you to control the aperture while the camera automatically adjusts the shutter speed for proper exposure. This mode gives you creative control over the depth of field.
2. How do I prevent overexposed skies in my outdoor photos?
To prevent overexposed skies, use exposure bracketing or shoot in HDR mode if your camera has this feature. Additionally, consider using a graduated ND filter to balance the exposure between the sky and the foreground.
3. Why are my outdoor photos blurry?
Blurry outdoor photos can result from camera shake, incorrect focus, or a slow shutter speed. Use a tripod, ensure proper focus on your subject, and increase the shutter speed if necessary to avoid blur.
4. Should I use a lens hood for outdoor photography?
Yes, a lens hood helps reduce lens flare caused by direct sunlight and improves contrast in your images. It’s especially useful when shooting in bright conditions.
5. How can I improve my outdoor portrait photography?
For outdoor portraits, use a wide aperture to blur the background and isolate your subject. Position your subject with their back to the sun to avoid harsh shadows and use a reflector to fill in any shadows on their face.
—
With these tips and techniques, you’re well on your way to mastering outdoor photography. Remember, practice makes perfect. Experiment with different settings, compositions, and lighting conditions to find your unique style. Happy shooting!


