Discover Studios, Services & More Across USA | StudioBDTLA
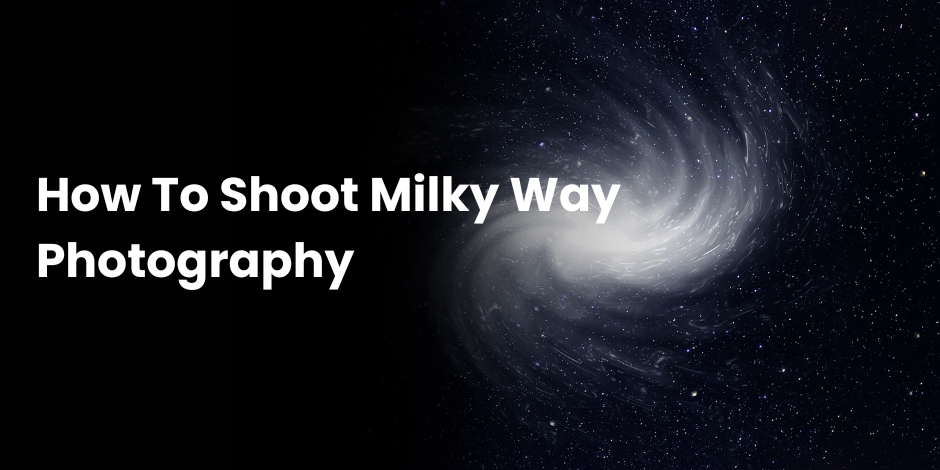
How To Shoot Milky Way Photography
Staring at the night sky is an awe-inspiring experience, but capturing the Milky Way in all its glory can be even more exhilarating. If you’ve always wondered how to photograph this celestial marvel, you’re in the right place. This guide will walk you through everything you need to know to capture the Milky Way, from the right gear to the perfect timing and settings. Ready to shoot the stars? Let’s get started!
Understanding Milky Way Photography
What is Milky Way Photography?
Milky Way photography involves capturing the bright, star-filled band of our galaxy that stretches across the sky. It’s a form of astrophotography that requires specific techniques, equipment, and a good understanding of the night sky.
Why You Should Try It
Taking Milky Way photos isn’t just about getting beautiful shots; it’s about connecting with the universe. It’s a chance to escape from the hustle and bustle of daily life and spend a peaceful night under the stars.
The Ideal Conditions for Shooting
To get the best shots, you need clear skies, minimal light pollution, and the Milky Way’s optimal visibility. Typically, the best time to photograph the Milky Way is during the new moon when the sky is darkest.
Essential Gear for Milky Way Photography
Camera and Lenses
A DSLR or mirrorless camera with manual controls is essential. Wide-angle lenses with a large aperture (f/2.8 or lower) are ideal for capturing as much light as possible.
Tripod
A sturdy tripod is crucial for long-exposure shots. It helps keep your camera stable and prevents blurry images caused by camera shake.
Remote Shutter Release
A remote shutter release allows you to take photos without touching the camera, reducing the risk of any movement during the shot.
Planning Your Shoot
Finding the Right Location
Choose a spot far from city lights. National parks, rural areas, and high elevations are often best. Use light pollution maps online to find the darkest locations near you.
Checking the Weather
Clear skies are a must. Check weather forecasts and use astronomy apps to ensure the sky will be cloud-free.
Timing is Everything
The Milky Way is more visible during certain times of the year. In the Northern Hemisphere, the best months are from April to September.
Camera Settings for Stunning Shots
ISO Settings
Higher ISO settings (between 1600 and 3200) are recommended to capture more light. However, be cautious of noise; each camera handles high ISO differently.
Aperture
Use the widest aperture your lens allows (f/2.8 or lower). This setting lets in the most light, essential for capturing stars.
Shutter Speed
A good rule of thumb is the 500 Rule: Divide 500 by your lens’s focal length to get the maximum exposure time before stars start to trail. For a 20mm lens, use a 25-second exposure.

Techniques for Sharp Images
Focusing in the Dark
Manually focusing on stars can be tricky. Use live view and zoom in on a bright star to adjust your focus until it appears sharp.
Avoiding Star Trails
Star trails occur when the Earth’s rotation causes stars to blur in long exposures. Use the 500 Rule to keep stars sharp and pinpoint.
Using a Star Tracker
Star trackers are tools that move your camera to match the Earth’s rotation, allowing for longer exposures without star trails. They can be a bit pricey but are worth the investment for serious astrophotographers.
Post-Processing Your Milky Way Shots
Editing Software
Adobe Lightroom and Photoshop are popular choices for editing Milky Way photos. They offer powerful tools to enhance your images.
Basic Adjustments
Start with basic adjustments like exposure, contrast, and white balance. This step helps bring out the details in your shots.
Enhancing Stars and Milky Way
Use tools like clarity and dehaze in Lightroom to make the Milky Way stand out. Be careful not to overdo it; subtlety is key.
Overcoming Common Challenges
Dealing with Light Pollution
Even in remote locations, light pollution can be an issue. Use light pollution filters and post-processing to minimize its impact.
Battling Noise in High ISO Images
High ISO settings can introduce noise. Use noise reduction techniques in your editing software to clean up your images.
Staying Safe During Night Shoots
Always inform someone of your whereabouts, carry a flashlight, and be aware of your surroundings. Safety first!

Advanced Tips for Milky Way Photography
Creating Panorama Shots
Capture multiple images and stitch them together in post-processing for breathtaking panoramic views of the night sky.
Incorporating Foreground Elements
Including elements like trees, mountains, or buildings can add depth and interest to your shots. Use a small light source to gently illuminate these elements.
Experimenting with Different Compositions
Don’t be afraid to try different angles and compositions. Experimentation can lead to unique and captivating images.
FAQ
How do I find the Milky Way in the sky?
Use astronomy apps like Stellarium or Sky Guide to locate the Milky Way. These apps show real-time positions of constellations and celestial objects.
Can I shoot the Milky Way with a smartphone?
While smartphones have limitations, newer models with manual controls can capture decent Milky Way shots. Use apps like Camera FV-5 for manual settings.
What are the best months to photograph the Milky Way?
In the Northern Hemisphere, the best months are April to September. In the Southern Hemisphere, aim for February to October.
How do I reduce noise in my Milky Way photos?
Use lower ISO settings, apply noise reduction in post-processing, and consider taking multiple exposures to stack and reduce noise.
Can I photograph the Milky Way in urban areas?
Light pollution in urban areas makes it challenging to capture the Milky Way. Seek out dark sky locations for the best results.
Conclusion
Milky Way photography is a rewarding hobby that brings you closer to the wonders of the universe. With the right equipment, planning, and techniques, you can capture stunning images of our galaxy. Whether you’re a seasoned photographer or a beginner, these tips will help you take your night sky photography to the next level. Ready to start your astronomical adventure? Grab your camera, head to a dark sky location, and start shooting!