Discover Studios, Services & More Across USA | StudioBDTLA
How to use a light meter in studio photography
Lighting is one of the most critical elements in studio photography. It can make or break a shot, transforming an ordinary image into an extraordinary one. One tool that is indispensable for ensuring perfect lighting is the light meter. Understanding how to use a light meter can elevate your studio photography to new heights, providing consistency and precision that’s hard to achieve otherwise.
In this comprehensive guide, we’ll walk you through everything you need to know about using a light meter in studio photography. Whether you’re a photography enthusiast or a hobby photographer, this guide will enhance your skills and ensure you get the best possible results from your shoot.

What is a Light Meter?
A light meter is a device that measures the amount of light in a scene, helping photographers determine the optimal exposure settings. It measures two types of light: incident and reflected.
- Incident Light: This is the light falling directly on the subject. Incident light meters measure the light hitting your subject rather than the light being reflected by it.
- Reflected Light: This is the light bouncing off your subject and into the camera. Reflected light meters, like the built-in meters in most cameras, measure this type of light.
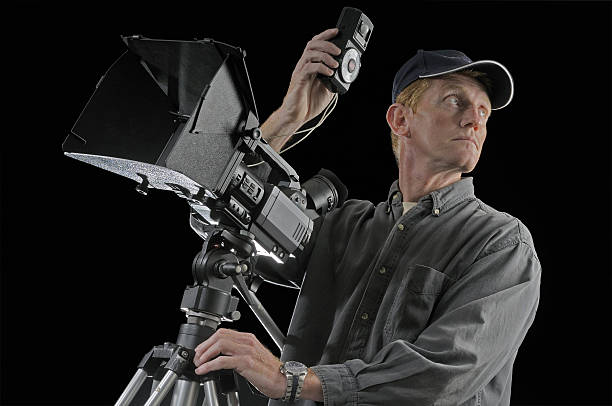
Using a handheld light meter, specifically an incident light meter, gives you a more accurate reading of the light conditions, ensuring better exposure and consistency across your shots.
Why Use a Light Meter in Studio Photography?
Precision and Consistency
In studio photography, lighting conditions are controlled, but precise measurements are still essential. A light meter provides accurate readings, ensuring that your exposure settings are spot-on every time. This consistency is particularly important when shooting multiple images in a session, as it ensures uniformity across all your photos.
Saves Time in Post-Production
Correct exposure from the outset reduces the need for extensive post-processing. While minor adjustments might still be necessary, getting the exposure right in-camera saves time and preserves the image’s original quality.
Professional Results
Using a light meter demonstrates a professional approach to photography. It shows attention to detail and a commitment to achieving the best possible results, qualities that clients and peers will appreciate.
How to Use a Light Meter in Studio Photography
Step 1: Set Up Your Studio
Before you start using your light meter, set up your studio environment. Position your lights, backdrop, and subject to your liking. Ensure all your equipment is ready to go, including your camera and any modifiers like softboxes or reflectors.
Step 2: Power On and Calibrate
Turn on your light meter and set it to the appropriate mode for your shoot. Most light meters allow you to choose between incident and reflected light modes. Since we’re focusing on incident light for studio photography, ensure your meter is set to this mode.
Next, calibrate your light meter to match your camera settings. Set the ISO to the same value as your camera and choose your desired shutter speed. The light meter will then recommend the correct aperture setting once you take a reading.
Step 3: Measure the Key Light
The key light is your primary light source, so start by measuring it. Place the light meter close to the subject, with the sensor facing the key light. Press the measurement button to take a reading. The light meter will display the recommended aperture setting based on the ISO and shutter speed you’ve set.
Step 4: Measure Fill and Background Lights
Repeat the process for any fill lights or background lights you have set up. Each light should be measured individually to ensure balanced exposure across the entire scene. Adjust the power of each light as necessary based on the readings from your light meter.
Step 5: Fine-Tune and Test
After adjusting your lights based on the readings, take a few test shots to ensure everything looks as expected. Review the images on your camera or a connected monitor, checking for any overexposed or underexposed areas. Make further adjustments to your lights or camera settings as needed.
Step 6: Lock in Your Settings
Once you’re satisfied with the exposure, lock in your camera settings. Ensure your ISO, shutter speed, and aperture are set correctly and refrain from changing them during the shoot to maintain consistency.
Tips for Using a Light Meter Effectively
Understand Lighting Ratios
Lighting ratios describe the relationship between the key light and fill light. For a natural look, you might use a 2:1 ratio, where the key light is twice as bright as the fill light. Experiment with different ratios to achieve various effects and moods in your photos.
Use a Grey Card
A grey card can help you achieve accurate white balance and exposure. Place it in the scene and take a reading from it with your light meter to ensure correct exposure and color balance.
Practice Makes Perfect
Using a light meter effectively takes practice. Spend time experimenting with different lighting setups and measurements to become comfortable with the process. Over time, you’ll develop an intuitive understanding of how to achieve the best results.

FAQs
Do I Need a Light Meter if My Camera Has a Built-In Meter?
While built-in meters are useful, they measure reflected light, which can be less accurate than incident light measurements. A handheld light meter provides more precise readings, especially in controlled studio environments.
Can I Use a Light Meter for Outdoor Photography?
Absolutely! Light meters are versatile tools that can be used both indoors and outdoors. They are particularly helpful in variable lighting conditions where accurate exposure is crucial.
What is the Best Light Meter for Studio Photography?
Several great options are available, including the Sekonic L-308X-U and the Gossen Digisix 2. Choose a meter that fits your budget and offers the features you need for your specific type of photography.
How Often Should I Calibrate My Light Meter?
Calibrate your light meter at the beginning of each shoot or whenever you change your camera settings. Regular calibration ensures your readings are accurate and consistent.
Can I Use a Smartphone App as a Light Meter?
While several smartphone apps can approximate light meter functionality, dedicated handheld meters are generally more accurate and reliable. Apps can be useful for quick assessments but may not provide the precision required for professional studio photography.
Conclusion
Using a light meter in studio photography is a game-changer for achieving perfect exposure and consistency in your shots. By understanding how to measure light accurately and adjust your settings accordingly, you can elevate your photography skills and produce professional-quality images.
Remember, practice is key. Spend time experimenting with different lighting setups and become comfortable with your light meter. Soon, you’ll wonder how you ever managed without it. Happy shooting!