Discover Studios, Services & More Across USA | StudioBDTLA
What Is A Contact Sheet In Photography
Have you ever wondered how professional photographers keep their thousands of images organized? Whether you’re a budding photographer or simply curious about the behind-the-scenes magic, understanding the power of a contact sheet can revolutionize your workflow.
In this blog post, we’ll demystify contact sheets, show you how they can streamline your photo selection process, and offer practical tips to create your own. By the end, you’ll wonder how you managed without them!
What is a Contact Sheet?
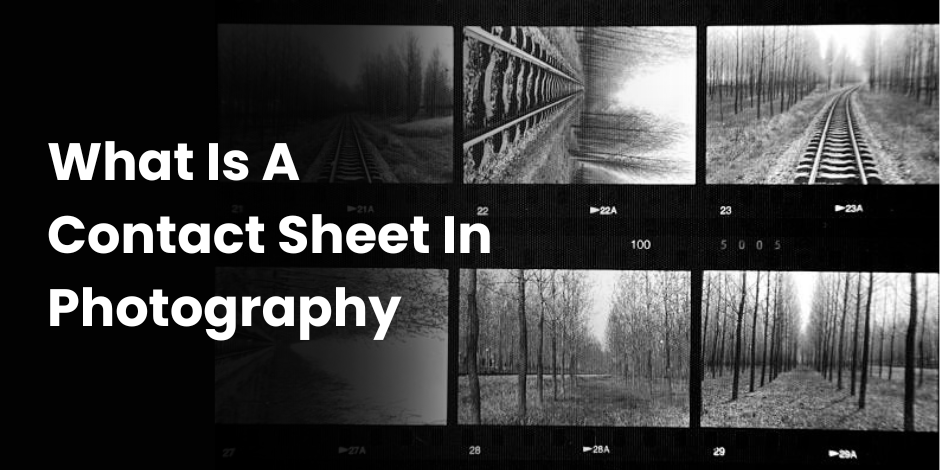
A contact sheet is a collection of thumbnail images displayed in a grid format on a single page. Traditionally, photographers used contact sheets to preview negatives before making larger prints. In the digital age, contact sheets serve the same purpose, helping photographers view and select their best shots quickly.
The History of Contact Sheets
Contact sheets date back to the early days of photography. Photographers would place their negatives directly onto photographic paper and expose them to light, creating a small-scale version of each image. This method allowed them to review their work without wasting expensive paper and chemicals on full-sized prints.
Importance in Film Photography
For film photographers, contact sheets were essential. They offered a first glimpse of the captured images, making it easier to spot any exposure issues or composition flaws. This practice also saved a lot of time and resources in the darkroom.
Transition to Digital
With the advent of digital photography, the need for physical contact sheets diminished. However, the concept remained vital. Digital contact sheets are now created using software, making the process faster and more efficient.
Benefits of Using a Contact Sheet
Using a contact sheet offers several advantages that can enhance your photography workflow and improve your final results.
Quick Overview
A contact sheet provides a quick overview of all your shots from a session. This makes it easier to assess which images stand out and which ones may need adjustments or can be discarded.
Efficient Selection
By seeing all your images at once, you can make faster decisions about which shots to keep and which to delete. This efficiency is particularly useful when working on large projects or tight deadlines.
Consistency Check
Having all your images displayed together allows you to check for consistency in lighting, composition, and style. This ensures that your final selection aligns with your vision for the project.
How to Create a Contact Sheet
Creating a contact sheet is straightforward, especially with digital tools at your disposal. Here’s a step-by-step guide to get you started.
Using Adobe Lightroom
Adobe Lightroom is a popular choice among photographers for creating contact sheets. Here’s how you can do it:
- Import Your Photos: Open Lightroom and import the photos you want to include in your contact sheet.
- Select Photos: Go to the Library module and select the photos you want to use.
- Create a Collection: Create a new collection to keep your selected photos organized.
- Print Module: Switch to the Print module.
- Template Browser: In the Template Browser, select a contact sheet template.
- Customize Layout: Customize the layout settings to fit your needs.
- Export: Once you’re satisfied with the layout, export the contact sheet as a PDF or JPEG.
Using Adobe Bridge
Adobe Bridge is another excellent tool for creating contact sheets. Follow these steps:
- Open Bridge: Launch Adobe Bridge and navigate to the folder containing your images.
- Select Images: Select the images you want to include.
- Output Workspace: Switch to the Output workspace.
- PDF Option: Choose the PDF option from the Output panel.
- Template: Select a contact sheet template.
- Settings: Adjust the settings to customize your contact sheet.
- Export: Click “Save” to export your contact sheet.
Manual Method
If you prefer a hands-on approach, you can create a contact sheet manually using any photo editing software. Here’s a simple method using Photoshop:
- Open Photoshop: Launch Photoshop and create a new blank document.
- Set Grid: Set up a grid to help you align the images.
- Import Images: Import your images and resize them to fit the grid.
- Arrange Images: Arrange the images in the grid format.
- Save: Save your contact sheet as a PDF or JPEG file.

Best Practices for Contact Sheets
Creating a contact sheet is just the beginning. Here are some best practices to ensure you get the most out of this powerful tool.
Consistent Layouts
Maintain consistent layouts for all your contact sheets. This makes it easier to compare different shoots and ensures a professional presentation.
Clear Labels
Label each image with relevant information such as file name, date, and any other details that might be useful. This makes it easier to identify and reference specific images later.
High Resolution
Ensure your contact sheet is high resolution, especially if you plan to print it. This ensures that all the details are visible and the images are clear.
Applications in Professional Photography
Contact sheets aren’t just for personal use; they have numerous applications in professional photography as well.
Client Reviews
Share contact sheets with clients to get their feedback and approval on selected images. This can streamline the decision-making process and ensure client satisfaction.
Portfolio Presentation
Use contact sheets to present your portfolio in a neat and organized manner. This can make a strong impression on potential clients or employers.
Archiving
Keep contact sheets as part of your archiving process. They can serve as a quick reference for future projects or audits.
Common Mistakes to Avoid
While contact sheets are incredibly useful, there are some common mistakes to avoid to ensure you get the best results.
Overcrowding
Avoid including too many images on a single contact sheet. This can make it difficult to view individual images clearly. Stick to a manageable number per sheet.
Poor Organization
Ensure your images are organized logically. Group similar shots together to make comparisons easier and more effective.
Ignoring Quality
Don’t compromise on the quality of your contact sheets. Ensure the images are clear and the layout is professional.
Integrating Contact Sheets into Your Workflow
To get the most out of contact sheets, integrate them seamlessly into your photography workflow. Here’s how:
Pre-Shoot Planning
Plan your shots with the contact sheet in mind. Consider how the images will look together and aim for consistency in your shoot.
Post-Shoot Review
Use contact sheets for your initial review of the images. This helps you quickly identify the best shots and any adjustments needed.
Final Selection
Refine your final selection using contact sheets. This ensures you’ve considered all options and chosen the best images for your project.
Tools to Enhance Your Contact Sheet Creation
Several tools can enhance your contact sheet creation process, making it easier and more efficient.
Adobe Lightroom and Bridge
Both Adobe Lightroom and Bridge offer robust features for creating contact sheets. They provide customization options and streamline the process.
Photoshop
Photoshop allows for more manual control and customization, making it ideal for those who want a hands-on approach.
Online Tools
Several online tools can create contact sheets for you. These can be useful if you’re looking for a quick and easy solution.
DIY Contact Sheet Templates
Creating your own templates can save time and ensure consistency. Here’s how you can create a DIY template:
- Choose Software: Select the software you’re comfortable with, such as Photoshop or InDesign.
- Set Up Grid: Set up a grid to determine the layout.
- Add Placeholders: Add placeholders for images and labels.
- Save Template: Save the template for future use.
Future of Contact Sheets in Photography
The future of contact sheets looks promising, especially with advancements in AI and machine learning. These technologies can further streamline the creation process and offer more intelligent image selection.
AI Integration
AI can analyze your images and create contact sheets automatically. This can save time and ensure you get the best shots.
Enhanced Customization
Future tools may offer enhanced customization options, allowing you to create contact sheets that are even more tailored to your needs.
Virtual Reality
Imagine viewing your contact sheets in a virtual reality environment. This could offer a more immersive and interactive way to review your images.
Conclusion
Contact sheets are a powerful tool in the world of photography. They offer a quick and efficient way to review, select, and organize your images. By integrating contact sheets into your workflow, you can streamline your process and improve your final results.
Whether you’re a professional photographer or just starting, mastering contact sheets can take your photography to the next level. Start creating your own contact sheets today and experience the difference for yourself.
If you have any questions or need further assistance, feel free to reach out to our community of photographers. Happy shooting!
Frequently Asked Questions
What size should a contact sheet be?
A standard contact sheet typically measures 8.5 x 11 inches, but the size can vary depending on your needs and preferences.
How many images should be on a contact sheet?
The number of images on a contact sheet can vary, but it’s best to stick to a manageable number, such as 20-30 images per sheet, to ensure clarity.
Can I create a contact sheet on my phone?
Yes, several mobile apps allow you to create contact sheets on your phone. These can be useful for quick reviews on the go.