Discover Studios, Services & More Across USA | StudioBDTLA
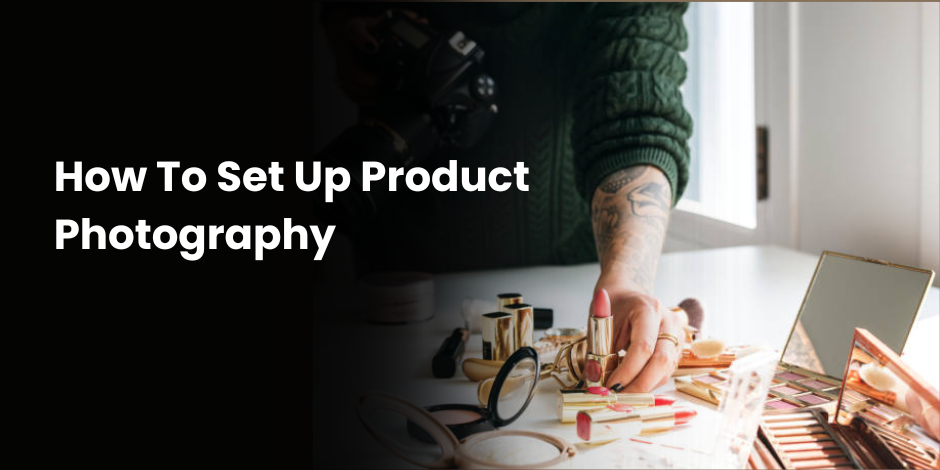
How To Set Up Product Photography
Setting up product photography can feel daunting. However, with the right tips and tricks, it’s possible to create stunning product images that captivate your audience. In this blog post, we will walk you through everything you need to know about setting up product photography, from selecting the right equipment to mastering lighting techniques. Whether you’re a beginner or a seasoned photographer, these insights will help you take your product photography to the next level.
Why Product Photography Matters
Product photography is crucial in today’s digital age. It influences the first impression your customers have of your product. High-quality images can increase sales, improve brand image, and build trust with your audience. Poor-quality photos, on the other hand, can turn potential customers away. Therefore, investing time and effort into your product photography setup is essential.
Choosing the Right Camera
The camera is the heart of your photography setup. While smartphones have advanced significantly, a dedicated camera often offers more control and higher quality. Consider a DSLR or mirrorless camera for professional results. These cameras provide better resolution, dynamic range, and the ability to change lenses for different types of shots. However, if you’re starting out, a high-end smartphone can also produce impressive results.
Selecting Lenses
Lenses play a critical role in product photography. A macro lens is ideal for capturing intricate details, while a standard 50mm lens offers versatility for various types of product shots. For larger items, a wide-angle lens can capture the entire product in a single frame. Investing in a good lens can make a significant difference in the quality of your photos.
Mastering Lighting Techniques
Lighting is perhaps the most crucial element in product photography. Natural light is excellent for beginners as it’s readily available and offers a soft, flattering effect. However, studio lights provide more control over the lighting environment. Softboxes, ring lights, and LED panels are popular choices for studio lighting. Experiment with different setups to find what works best for your products.
Using Light Tents and Diffusers
Light tents and diffusers help create even lighting, eliminating harsh shadows and reflections. They are especially useful for small to medium-sized products. A light tent is a collapsible box made of translucent fabric that diffuses light evenly around the product. Diffusers can be used with natural or artificial light to soften the light and create a more professional look.
Setting Up Your Background
The background can make or break a product photo. A clean, neutral background like white or grey allows the product to stand out. However, context-specific backgrounds can add a unique touch and make the product more relatable. For example, a kitchen setting for food products or a desk setup for office supplies. Ensure the background complements the product without distracting from it.
Positioning Your Product
How you position your product significantly impacts the final image. Place the product at the center of the frame and ensure it is well-lit. Use props sparingly to highlight features without overshadowing the main subject. Experiment with different angles to find the most flattering perspective. Remember, the goal is to present the product in the best possible light.
Understanding Composition
Composition refers to how elements are arranged within the frame. The rule of thirds is a fundamental principle in photography that can enhance the visual appeal of your images. Imagine dividing your frame into a 3×3 grid and place the product along these lines or their intersections. This creates a balanced and engaging composition. Symmetry and leading lines are other techniques to consider.
Editing and Post-Processing
Editing is the final step in creating high-quality product photos. Software like Adobe Photoshop and Lightroom offer advanced tools for color correction, retouching, and enhancing details. Even basic adjustments like brightness, contrast, and sharpness can make a significant difference. Aim for natural-looking edits that enhance the product without altering its appearance.
Using Tripods for Stability
A tripod is essential for sharp, clear photos. It eliminates camera shake, allowing for longer exposure times and better focus. Look for a sturdy tripod with adjustable height and a ball head for easy maneuvering. For smartphone photography, a phone tripod with a mount adapter works equally well.
Incorporating Reflectors
Reflectors bounce light onto the product, filling in shadows and adding depth. They come in various colors, each serving a different purpose. A white reflector softens the light, a silver reflector adds brightness, and a gold reflector warms the tones. Experiment with different reflectors to achieve the desired effect.

Testing Different Angles and Perspectives
Don’t be afraid to experiment with various angles and perspectives. Lower shots can make the product appear more imposing, while overhead shots offer a comprehensive view. Close-ups highlight details, and wider shots provide context. Take multiple shots from different angles to find the best representation of your product.
Creating Lifestyle Shots
Lifestyle shots show the product in use, making it more relatable to potential customers. These shots require a bit more planning and setup but can be incredibly effective. Choose a setting that reflects how the product is typically used and incorporate relevant props. Ensure the product remains the focal point.
Optimizing for E-commerce Platforms
Each e-commerce platform has specific guidelines for product images. Ensure your photos meet these requirements to avoid issues during upload. Common standards include image size, background color, and aspect ratio. Optimizing your photos for different platforms can improve visibility and sales.
FAQs
What camera is best for product photography?
A DSLR or mirrorless camera is ideal for professional results, but high-end smartphones can also produce good photos.
How can I get rid of shadows in my product photos?
Use a light tent or diffusers for even lighting, and consider using reflectors to fill in shadows.
What is the rule of thirds?
The rule of thirds is a composition guideline that suggests placing the subject along imaginary lines that divide the frame into thirds.
Conclusion
Setting up product photography may seem overwhelming, but with the right techniques and tools, anyone can create stunning images. From choosing the right camera and mastering lighting techniques to understanding composition and post-processing, each step plays a crucial role in the final result. Start experimenting with these tips today and watch your product photos transform.
Ready to take your photography to the next level? Join a community of like-minded individuals and share your progress. Happy shooting!