Discover Studios, Services & More Across USA | StudioBDTLA
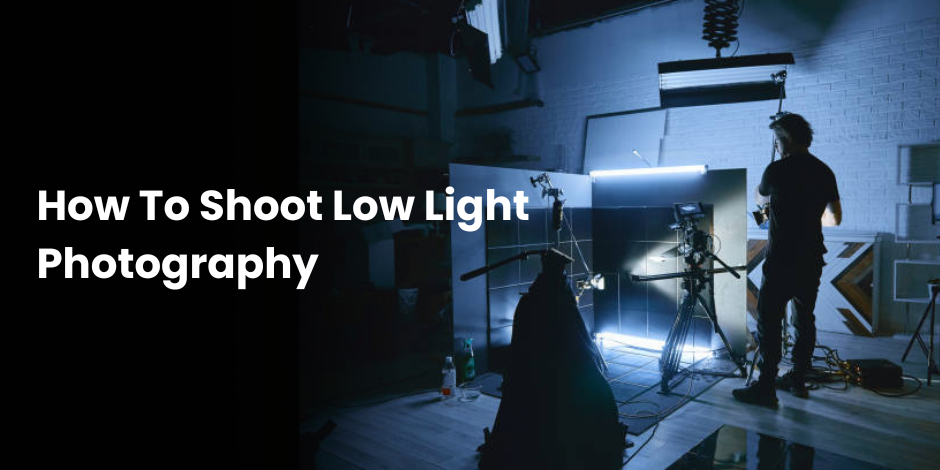
How To Shoot Low Light Photography
Have you ever marveled at stunning night scenes or beautifully lit indoor portraits and wondered how photographers achieve such incredible results? Welcome to the world of low light photography. This guide will teach you how to capture breathtaking images even when the lighting is less than ideal. Whether you’re shooting a starry sky, a candle-lit dinner, or a dimly-lit cityscape, the techniques you’ll learn here will help you make the most of any low-light situation. By the end of this post, you’ll be well-equipped with the knowledge and confidence to tackle challenging lighting and produce stunning photos.
Understanding Low Light Photography
What is Low Light Photography?
Low light photography involves capturing images in conditions where there is limited natural or artificial light. This often requires specialized techniques and equipment to get the best possible shot. The goal is to balance exposure, focus, and color while minimizing noise and blurriness.
Why Low Light Photography is Important
Low light conditions are common in many real-world scenarios. From weddings and concerts to cityscapes and natural landscapes at dusk, mastering low light photography opens up a world of creative opportunities. It allows you to capture moments that would otherwise be lost in the shadows.
Common Challenges in Low Light Photography
Low light photography presents several challenges, including slower shutter speeds, higher ISO settings, and the potential for blurred images. Understanding these obstacles and learning how to overcome them is crucial for success.
Essential Equipment for Low Light Photography
Cameras
While most modern cameras can handle low light situations to some extent, certain models excel in these conditions. Look for cameras with larger sensors, high ISO capabilities, and good noise reduction features.
Lenses
Prime lenses with wide apertures (like f/1.8, f/1.4, or even f/1.2) are ideal for low light photography. These lenses allow more light to reach the sensor, making it easier to shoot in dim conditions without compromising on quality.
Tripods
A sturdy tripod is essential for low light photography. It stabilizes your camera during long exposures, reducing the risk of blurry images. This is especially important when using slower shutter speeds.
Camera Settings for Low Light Photography
ISO Settings
ISO determines your camera’s sensitivity to light. In low light conditions, you’ll often need to increase your ISO. However, higher ISO settings can introduce noise into your images, so it’s important to find a balance.
Shutter Speed
Slower shutter speeds allow more light to hit the sensor, but they also increase the risk of motion blur. Using a tripod can help mitigate this, allowing you to use slower shutter speeds without sacrificing sharpness.
Aperture
A wide aperture (small f-number) allows more light to enter the lens. This is particularly useful in low light conditions, enabling you to capture well-lit images without relying solely on higher ISO settings.
Techniques for Better Low Light Photography
Long Exposure
Long exposure techniques involve using slow shutter speeds to capture more light. This is particularly effective for night scenes and can create stunning light trails and motion effects.
Bracketing
Bracketing involves taking multiple shots at different exposures and combining them to create a single, well-exposed image. This technique can help you capture details that might be lost in a single exposure.
Focus Stacking
In low light, achieving precise focus can be challenging. Focus stacking involves taking multiple shots with different focus points and merging them in post-processing to create a sharp, well-focused image.

Post-Processing Tips for Low Light Photos
Noise Reduction
Even with the best techniques, low light photos can sometimes be noisy. Use noise reduction tools in software like Adobe Lightroom or Photoshop to clean up your images without sacrificing detail.
Adjusting Exposure
Sometimes, despite your best efforts, you might need to tweak the exposure in post-processing. Adjust the brightness, contrast, and highlights to bring out the best in your low light photos.
Color Correction
Low light conditions can sometimes cause color imbalances. Use color correction tools to adjust white balance and ensure that your images have accurate, vibrant colors.
Creative Ideas for Low Light Photography
Night Cityscapes
Cityscapes at night offer endless opportunities for creative low light photography. Use long exposures to capture light trails from traffic and illuminate the architectural beauty of urban landscapes.
Astrophotography
Astrophotography involves capturing images of the night sky. Use long exposures and wide apertures to capture stars, constellations, and even the Milky Way.
Indoor Portraits
Indoor portraits can be challenging due to limited natural light. Use a combination of artificial light sources and wide apertures to create intimate, well-lit portraits.
Engaging with the Low Light Photography Community
Join Online Forums
Joining online forums and communities can provide valuable insights and feedback on your work. Sites like Reddit, Flickr, and specialized photography forums are great places to start.
Participate in Workshops
Workshops and courses can offer hands-on experience and expert guidance. Look for local or online workshops focused on low light photography.
Follow Influential Photographers
Following influential photographers on social media can provide inspiration and tips. Look for those who specialize in low light photography and study their techniques and styles.
Frequently Asked Questions
How do I prevent blurry images in low light?
Use a tripod to stabilize your camera, and consider using a remote shutter release or the camera’s timer function to avoid camera shake.
What is the best ISO setting for low light photography?
There’s no one-size-fits-all answer. Start with a lower ISO setting and gradually increase it until you find a balance between brightness and noise.
Can I use my smartphone for low light photography?
Yes, many modern smartphones have advanced camera features that can handle low light conditions. Use manual settings if available, and consider using a tripod for longer exposures.
Conclusion
Low light photography offers a unique set of challenges and opportunities. By understanding the key techniques and settings, and using the right equipment, you can capture stunning images even in the darkest conditions. Remember to experiment, practice, and engage with the community to continually improve your skills. Ready to elevate your low light photography game? Start experimenting with these tips today, and watch your photos transform from ordinary to extraordinary.