Discover Studios, Services & More Across USA | StudioBDTLA
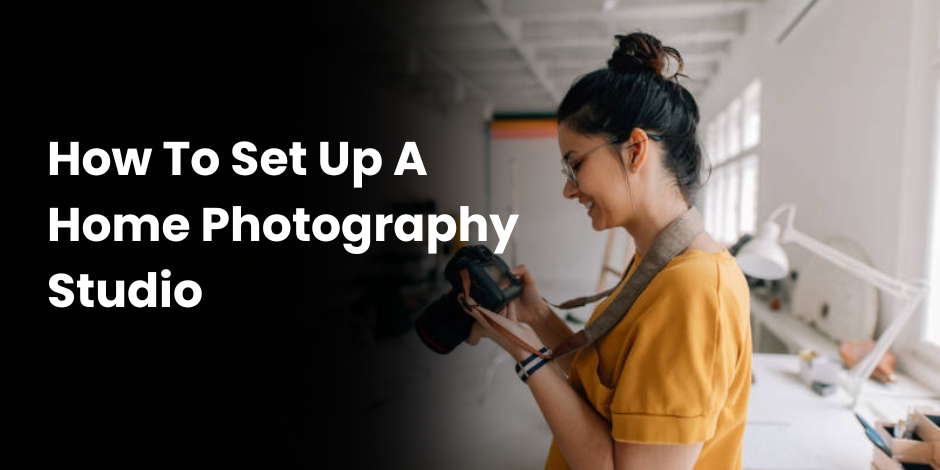
How To Set Up A Home Photography Studio
Do you have a passion for photography but feel constrained by the lack of a dedicated studio space? Home photography studios are becoming increasingly popular among both amateur and professional photographers. Imagine having the freedom to shoot whenever inspiration strikes, without worrying about studio rentals or availability. This blog post will guide you through the entire process of setting up your home photography studio, from selecting the right space to choosing essential equipment and accessories.
Why Set Up a Home Photography Studio?
Freedom and Flexibility
One of the biggest advantages of having a home photography studio is the freedom it offers. You can shoot at any time of the day or night, which is especially beneficial for those spontaneous creative moments. Plus, you won’t have to worry about booking slots or adhering to studio timings.
Cost-Effective Solution
Setting up a home studio can be much more cost-effective in the long run compared to renting a professional studio. While there may be initial costs involved, you’ll save money on rental fees over time. Additionally, you can start small and gradually invest in more advanced equipment as your skills and needs grow.
Control Over Your Environment
Having your own studio means you have complete control over the environment. You can customize the space to suit your specific needs, whether it’s adjusting the lighting, choosing the backdrop, or setting up props. This level of control can significantly enhance the quality of your work.
Choosing the Right Space
Assess Your Home
The first step in setting up a home photography studio is choosing the right space. Assess different areas in your home to find a location that meets your needs. Ideally, the space should be quiet, have enough room to set up equipment, and offer good natural light.
Consider Accessibility
Make sure the space is easily accessible. If you’re planning to shoot portraits or invite clients, consider their comfort and convenience. A room with a separate entrance might be ideal, but any accessible space can work with proper planning.
Think About Storage
Photography involves a lot of equipment, so consider how you’ll store everything. Opt for a space that allows for organized storage of cameras, lenses, lighting, and other accessories. Shelving units or cabinets can be a great addition to keep things tidy.
Essential Equipment for Your Home Studio
Cameras and Lenses
Your camera is the heart of your studio. Whether you use a DSLR, mirrorless camera, or even a high-quality smartphone, make sure it meets your specific needs. Invest in versatile lenses that can handle different types of photography, such as a prime lens for portraits and a wide-angle lens for landscapes.
Lighting Equipment
Proper lighting is crucial for professional-quality photos. Invest in a good set of studio lights, including softboxes, umbrellas, and reflectors. Continuous lighting is great for beginners, while strobe lights offer more control and flexibility for advanced photographers.
Backdrops and Stands
A variety of backdrops can add versatility to your studio. Choose from solid colors, patterns, and textured materials to create different moods and styles. Ensure you have sturdy backdrop stands to support them securely.
Setting Up Your Studio
Arranging Your Space
Once you have all the equipment, it’s time to arrange your space. Position your lights to minimize shadows and ensure even lighting. Place your camera on a tripod for stability and easy adjustments. Set up your backdrops and ensure they are wrinkle-free and securely fastened.
Testing Your Setup
Before you start shooting, test your setup to ensure everything is working correctly. Check the lighting, adjust the camera settings, and take a few test shots. Make any necessary adjustments to achieve the desired results.
Creating a Comfortable Environment
A comfortable environment is essential for both you and your subjects. Ensure the space is well-ventilated and maintain a comfortable temperature. Provide seating and refreshments if you’re working with clients or models.

Tips for Effective Lighting
Natural Light vs. Artificial Light
Natural light can be a great asset, especially if you have large windows. However, it can be unpredictable. Combine natural light with artificial lighting to achieve consistent results. Use softboxes and reflectors to diffuse light and reduce harsh shadows.
Understanding Light Modifiers
Light modifiers, such as diffusers and reflectors, can significantly improve your lighting setup. Diffusers soften the light, creating a more flattering effect, while reflectors bounce light to fill in shadows and add dimension.
Experimenting with Angles
Experiment with different lighting angles to create various effects. Side lighting can add depth and texture, while front lighting provides a soft and even illumination. Backlighting can create a dramatic silhouette effect.
Choosing the Best Backdrops
Versatility is Key
Choose backdrops that offer versatility. Solid colors are great for professional portraits, while patterned or textured backdrops can add creativity to your shots. Consider seasonal or themed backdrops for special occasions.
Easy Storage Solutions
Backdrops can take up a lot of space, so consider easy storage solutions. Rollable backdrops or collapsible stands can save space and make switching between backdrops quick and easy.
DIY Backdrop Ideas
You don’t always have to invest in expensive backdrops. Get creative with DIY options like fabric, paper, or even painted walls. The key is to ensure they complement your subject and enhance the overall composition.
Incorporating Props and Accessories
Enhancing Your Photos
Props can add interest and context to your photos. Simple items like chairs, stools, or plants can make a big difference. Choose props that complement your subject and enhance the story you’re trying to tell.
Organizing Your Props
Keep your props organized and easily accessible. Use bins or shelves to store smaller items and designate a specific area for larger props. This will save you time and help maintain a tidy workspace.
Rotating Your Props
Regularly rotate your props to keep your photos fresh and interesting. This will also allow you to experiment with different themes and styles, keeping your work dynamic and engaging.
Post-Processing and Editing
Choosing the Right Software
Post-processing is an essential part of photography. Choose software that suits your needs, such as Adobe Lightroom or Photoshop. These programs offer powerful tools for editing and enhancing your photos.
Basic Editing Techniques
Start with basic editing techniques like cropping, adjusting exposure, and correcting colors. These simple adjustments can significantly improve the overall quality of your photos.
Advanced Editing Tips
Once you’re comfortable with basic edits, explore advanced techniques like retouching, compositing, and adding special effects. These skills can take your photos to the next level and set your work apart.
Building a Portfolio
Showcasing Your Best Work
Your portfolio is a representation of your skills and style. Showcase your best work to attract potential clients or collaborators. Include a variety of shots to demonstrate your versatility.
Online Portfolio Platforms
Create an online portfolio to reach a wider audience. Platforms like Adobe Portfolio, Wix, or Squarespace offer customizable templates that allow you to showcase your work professionally.
Keeping Your Portfolio Updated
Regularly update your portfolio with new work. This shows that you’re active and continuously improving your skills. It also keeps your audience engaged and interested in your latest projects.
Networking and Collaboration
Joining Photography Communities
Join photography communities to connect with other photographers, share your work, and gain feedback. Online forums, social media groups, and local clubs can be great resources.
Collaborating with Other Artists
Collaboration can lead to new opportunities and creative ideas. Work with other photographers, models, makeup artists, and stylists to create unique and diverse projects.
Attending Workshops and Events
Attend workshops and photography events to learn new techniques and network with industry professionals. These events can provide valuable insights and help you stay updated on the latest trends.
Monetizing Your Home Studio
Offering Photography Services
Monetize your home studio by offering photography services. Specialize in areas like portraits, product photography, or events to attract clients. Create packages that cater to different needs and budgets.
Selling Prints and Digital Downloads
Sell prints and digital downloads of your work. Set up an online store or partner with print-on-demand services to reach a broader audience. Offer a variety of sizes and formats to appeal to different tastes.
Teaching Photography Classes
Share your knowledge by teaching photography classes. Offer workshops, online courses, or one-on-one lessons to beginners and enthusiasts. This can be a rewarding way to earn income and inspire others.
Maintaining Your Studio
Regular Cleaning and Maintenance
Keep your studio clean and well-maintained. Dust and dirt can affect the quality of your photos and damage your equipment. Regular cleaning ensures a professional and pleasant environment.
Upgrading Equipment
Stay up-to-date with the latest photography equipment. Upgrade your gear as needed to keep up with advancements in technology and improve the quality of your work.
Staying Inspired
Keep your creativity flowing by seeking inspiration from various sources. Follow other photographers, explore new techniques, and challenge yourself with different projects. Staying inspired is key to continuous improvement.
Conclusion
Setting up a home photography studio is an exciting and rewarding endeavor. With the right space, equipment, and creativity, you can transform your home into a professional studio that meets your needs. Remember, the key to success is continuous learning and experimentation. Don’t be afraid to try new things and push the boundaries of your creativity.
Whether you’re an amateur photographer looking to refine your skills or a professional aiming to expand your business, a home studio can offer endless possibilities. Start small, invest in quality equipment, and most importantly, have fun with your photography journey.
Ready to take the next step? Book a consultation with one of our expert stylists to help you refine your style and choose the best equipment for your home photography studio. Let’s create something amazing together!
FAQs
How much space do I need for a home photography studio?
The space required depends on the type of photography you’ll be doing. For portraits, a small room with enough space for lighting and backdrops should suffice. For larger projects, you may need a bigger area.
What kind of lighting is best for a home studio?
Both natural and artificial lighting can work well. Natural light is great if you have large windows, but investing in studio lights like softboxes and reflectors can provide consistent results.
Can I set up a home studio on a budget?
Yes, you can start with basic equipment and gradually invest in more advanced gear. Look for budget-friendly options and consider DIY solutions to save costs.